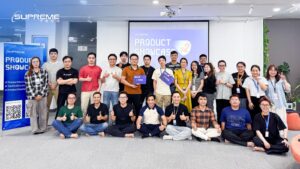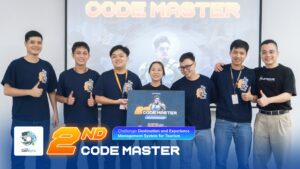


Mock Pitch 2026 wrapped up with an award ceremony celebrating SupremeTech teams who demonstrated solution thinking, pitching skills, teamwork, and a strong learning mindset.
17/06/2026
204
+0
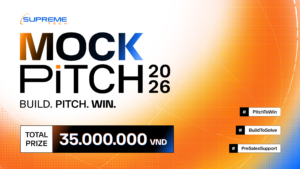
Mock Pitch 2026 Recap: Build. Pitch. Win. at SupremeTech
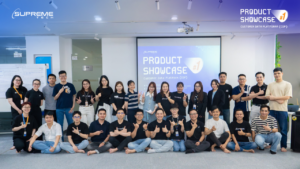
Mock Pitch 2026 wrapped up with an award ceremony celebrating SupremeTech teams who demonstrated solution thinking, pitching skills, teamwork, and a strong learning mindset.
17/06/2026
204
+1
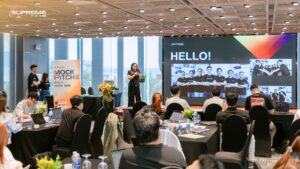
[Internal event in Da Nang] Mock Pitch 2026: Building Solutions with Human Insight
19/05/2026
314

+1
SupremeTech Product Showcase Returns with a New Solution: Monet Kit
10/04/2026
378
+1
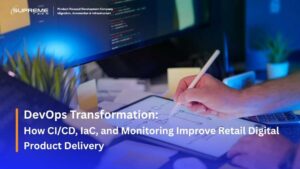
DevOps Transformation: How CI/CD, IaC, and Monitoring Improve Retail Digital Product Delivery
07/07/2026
114

+1
Data Governance in Cloud: How to Manage Customer Data Quality, Access Control, and Compliance
11/06/2026
321

+3
How to Choose Reliable Cloud Data Migration Services
29/04/2026
364

+1
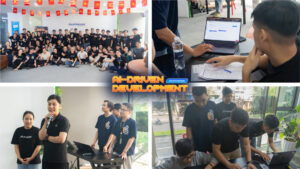
How AI-driven Retail Software Development Personalized Marketing Platforms
05/05/2026
333
+0
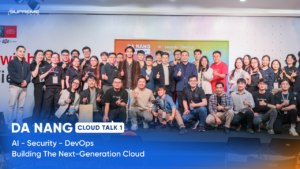
Da Nang Cloud Talk #1: SupremeTech Building the Next-Generation Cloud, GenAI & Security Community
24/12/2025
962

+0
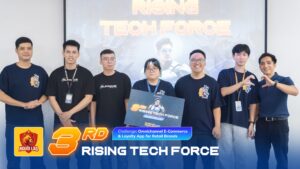
How Team Người Việc Won SupremeTech’s AI Hackathon 2025 with AI-Assisted Development and Agile Thinking
22/10/2025
830
+1
DevOps Transformation: How CI/CD, IaC, and Monitoring Improve Retail Digital Product Delivery
07/07/2026
114
+1
Data Governance in Cloud: How to Manage Customer Data Quality, Access Control, and Compliance
11/06/2026
321

+1
Cloud Data Platform: Why Retail Brands Need One Before Scaling Customer Data
11/06/2026
270
+0
SupremeTech and OTTclouds will attend Vietnam ICTCOMM 2025
22/05/2025
1.3k

+0
SupremeTech & Enlyt Showcase CloudTV Streaming Solution at Inter BEE 2024
14/11/2024
1.82k
+1
[Internal event in Da Nang] Mock Pitch 2026: Building Solutions with Human Insight
19/05/2026
314

+1
Best Cloud Data Migration Companies in Vietnam: A Buyer’s Guide for Data-Heavy Businesses
14/05/2026
379


Want to customize a software for your business?