

20/03/2024
1.75k
Topics outside the main categories but still valuable to share.

+2
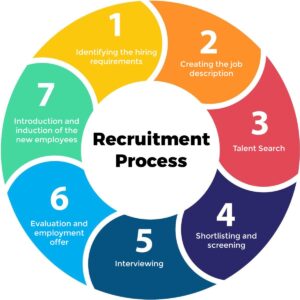
AI Hiring Tools and Next-Gen Recruiting Platforms
20/03/2024
1.75k

+1
How recorded video interview helps to recruit more efficiently
27/12/2023
1.33k

+1
Job matching app: Bridging the Gap Between Job Seekers and Career Consultants
11/09/2023
2.83k
+1
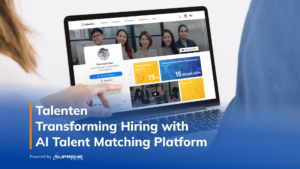
Transforming Hiring with AI Talent Matching Platform
19/07/2023
2.75k

+1
Simplify high volume hiring with MiaHire: The Future of Video Interviews
19/06/2023
1.68k
+0
Mass Recruitment in the Digital Age: The Future of Hiring
08/04/2023
2.23k

+0
Top 10 Digital Commerce Companies in Vietnam
26/09/2025
1.31k

+1
Level Up Your Code: Transitioning to Validated Environment Variables
09/07/2025
639
+1
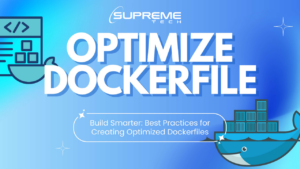
Build Smarter: Best Practices for Creating Optimized Dockerfile
08/07/2025
784

+0
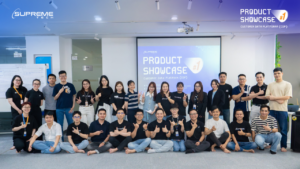
SupremeTech Product Showcase: Create the next “Made in ST” solution! 🚀
11/03/2026
125

+1
How to Create Smooth Navigation Transitions with View Transitions API and React Router?
08/07/2025
1.27k
+3
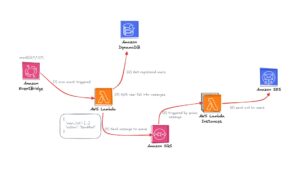
Mastering AWS Lambda: An Introduction to Serverless Computing
25/12/2024
1.29k

Editor’s Picks

+0
Rebuilding a Crowdfunding Platform: SupremeTech’s Approach to Drive Innovation and Growth
Published on 30/10/2025

+1
SupremeTech: Building the Future of Healthcare AI with Agentic AI
Published on 17/10/2025

+1
A Skill-Based Job Matching App
Published on 19/11/2024


Want to customize a software for your business?