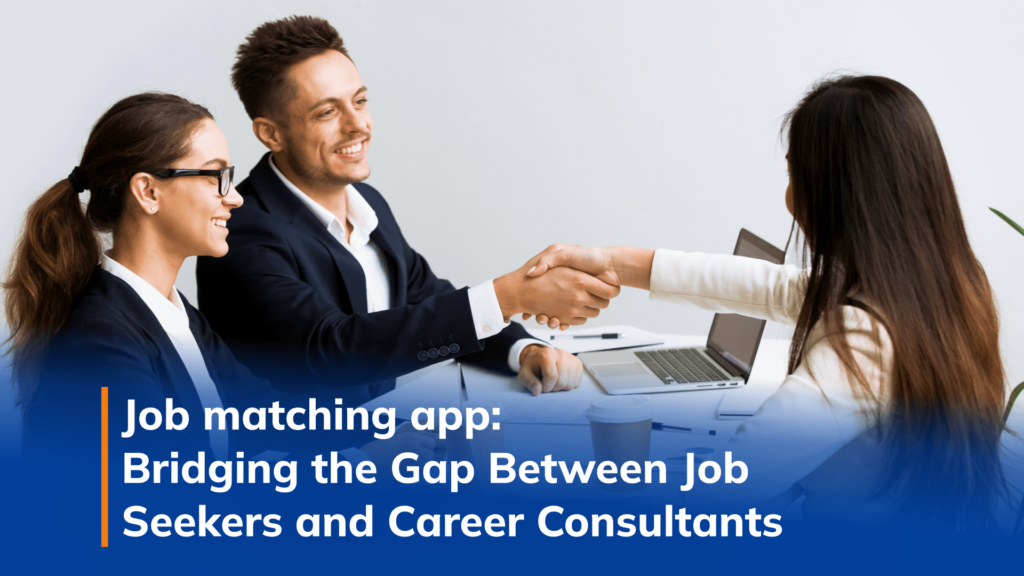
Job matching app: Bridging the Gap Between Job Seekers and Career Consultants
11/09/2023
3.22k
The job matching app aims to help job seekers find suitable employment opportunities with support from career consultants. What’s intriguing is that this platform has expanded from a previous mobile app to create a more comprehensive and versatile platform on computers.
As a technical partner, it was an exciting journey for us, SupremeTech!
Job Seeker Experience: The Catalyst for the Emergence of the Job Matching App
According to MaketSplash, 72% of recruiters struggled to find suitable candidates, while 42% worried about not finding top talent. This highlights the difficulty in sourcing fitting candidates for businesses, necessitating changes for both recruiters and candidates to keep up with trends and “find each other” on their career journeys. A pivotal trend in successful recruitment processes for businesses is candidate experience. This strategy is novel and could become a new approach for years to come. Candidates with positive experiences during the hiring process find it easier to secure a job, and some may even refer others to join the company.
A survey by Kelly Services revealed that 95% of candidates impressed by the recruitment process would reapply, and 55% would share their experiences on social media, enhancing the company’s reputation. This also contributes to strengthening the relationship between the company and potential candidates.
To be at the forefront of recruitment trends and establish a modern hiring environment, this job search app is not merely a tool but a reliable companion in the job search journey. With numerous unique features and conveniences, this app has revolutionized how candidates and career consultants interact and collaborate.
Beyond a Simple Recruitment App
The job search app is pioneering and unique, marking a breakthrough in the current market. Stemming from a distinctive idea, it swiftly became a platform that fosters unprecedented interaction between candidates and recruitment experts.
The app provides a platform for candidates to connect freely with any recruitment expert, offering them diverse access to knowledge and experience. This helps candidates grasp the job market better and provides opportunities to optimize their career paths.
It’s a unique connection platform aimed at supporting both candidates and recruitment experts. Designed to ensure the best experience for both parties, this job matching app facilitates seamless information exchange, messaging, and even real-time video calls with recording features. Job seekers and career consultants can video call to discuss and adjust the job seeker’s profile to suit modern recruitment requirements.
Time Challenge for SupremeTech: Completing the API in 2 Months
Faced with this unique endeavor, SupremeTech undertakes a demanding task: The massive creation of APIs for multiple screens within a mere two-month window. Unlike previous clients, this project focuses solely on backend development, postponing front-end work for later. Within this two-month span, SupremeTech team must finalize the API and successfully conduct thorough testing.
Tackling this project brings forth its own set of challenges. Complex architectural decisions, meeting time constraints, integrating intricate business logic, ensuring thorough testing, adapting to evolving requirements, and guaranteeing scalability are pivotal.
The journey’s culmination marks a testament to SupremeTech’s dedication and professionalism. As the API nears its completion and testing phase, it stands as a shining example of our commitment to delivering exceptional solutions, even under stringent timelines.
How the App Adds Value for Job Seekers
Young individuals or recent graduates often need help in their job search process. They struggle to create an appealing resume, possess professional interview skills, and lack connections during their job search. Our clients developed this app to address all these issues.
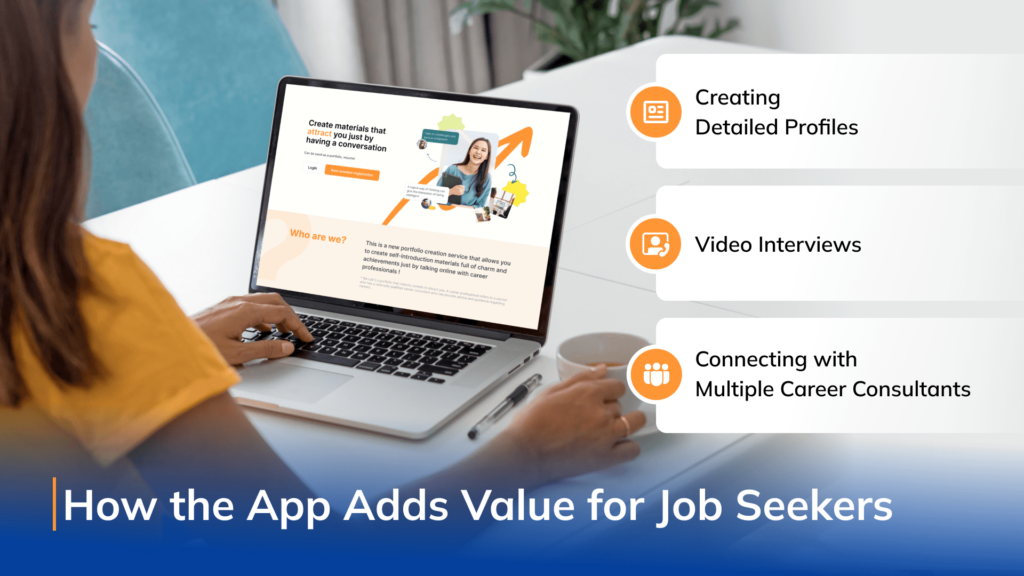
Creating Detailed Profiles
One standout advantage of the app is the ability to create a detailed, unique profile that aligns with recruiters’ needs. Each candidate can effortlessly craft a resume that recruiters desire by utilizing available templates. These templates are meticulously researched and encompass the majority of recruiters’ requirements. From personal information to accomplishments and work experience, candidates can present a comprehensive picture of themselves, garnering recruiters’ attention.
Orientation video calls – Effective Communication and Enhanced Profiles
The app introduces the opportunity for orientation video calls between candidates and career consultants. This provides a deeper insight into the candidate’s industry and personality. The conversation not only helps candidates understand the job market and trends better but also allows career consultants to offer honest evaluations of strengths and weaknesses. The unique feature of this app is that during the call, consultants can access the job seeker’s portfolio and edit it directly. They can simultaneously share their screen, discuss, and update information. (Outside of the call duration, consultants no longer have this access). This means candidates have the chance to present a polished and appealing resume to all recruiters.
Connecting with Multiple Career Consultants – Expanding Scope and Opportunities
The app offers diversity by enabling connections with various career consultants in different fields. This opens up new opportunities for candidates to explore and learn about multiple career paths. Rather than focusing on a single industry, job seekers can seek in-depth guidance from experts in various domains, aiding them in better understanding multiple career development paths.
The job search app truly surpasses limitations, providing flexible space and diverse opportunities for candidates to excel in their quest for their dream job.
How Consultants Find Candidates on the App?
On this platform, not only does it create opportunities for job seekers, but consultants can also search for candidates and earn additional income. So, how do they search for candidates and operate on the app?
- Job seekers select and are matched with a career consultant of their choice.
- Job seekers will have a video chat with a consultant to discuss the job.
- Based on the conversation, consultants guide and help candidates create profiles that attract recruiters.
- Consultants discuss with companies, and companies evaluate candidates based on their portfolios.
- Companies can send offers to job seekers.
- If the match is completed, the consultant can earn money
Development systems and technologies
Below are the resources and technologies we use to develop the services:
- Details of entrustment: Design, Implementation, Testing
- Platform: Web
- Technology: GCP, MySQL
- Framework: PHP Laravel
Let SupremeTech Create Your Job Matching App for Your Business
SupremeTech brings a wealth of experience in developing advanced applications that cater to the diverse needs of businesses. Drawing from the information you’ve provided about your objectives and requirements for the app, we are poised to craft a tailored solution that perfectly aligns with your business.